The upkeep of your home is something that should go without saying. It’s an important aspect of keeping the home nice and clean, a comfortable place to live. Between some mishaps and things that break and need repairing, not many people think about the general maintenance of the interior. The thing is, it’s a large area, practically all of the living space that you inhabit. Therefore it may seem like too big of a task to handle or worry about at first. But, if you focus on purely a skin deep revamping, techniques that breathe new life into your home while not changing the overlook drastically, it’s not that difficult. Everything in this category can be done by you at home without the need for an expert. The only concern you might want to consider is whether or not you have the money available to do make the change. But rest assured unlike a restoration or a completely restyling, a revamping isn’t as expensive.

Photo by pxhere
The list and budget
Before considering what kind of approach you want to take, consider your finances. Indeed although a revamping is purely working on features that are skin deep, the ability to maintain an even cheque book should be a priority. If you have loans currently existing it’s hard to why you would want to add another expense to your life. However, there are loans that make it easier to simplify your debts which companies like Evolution Money do provide. Essentially with a consolidation debt, all your current loans and outstanding payments are piled into one whole payment plan. Therefore the time is extended, and the payments may even drop in size as well as the overall interest rate decreasing. To fund your home improvements while keeping your finances on track is more important than even the end result.
Source Teamwork
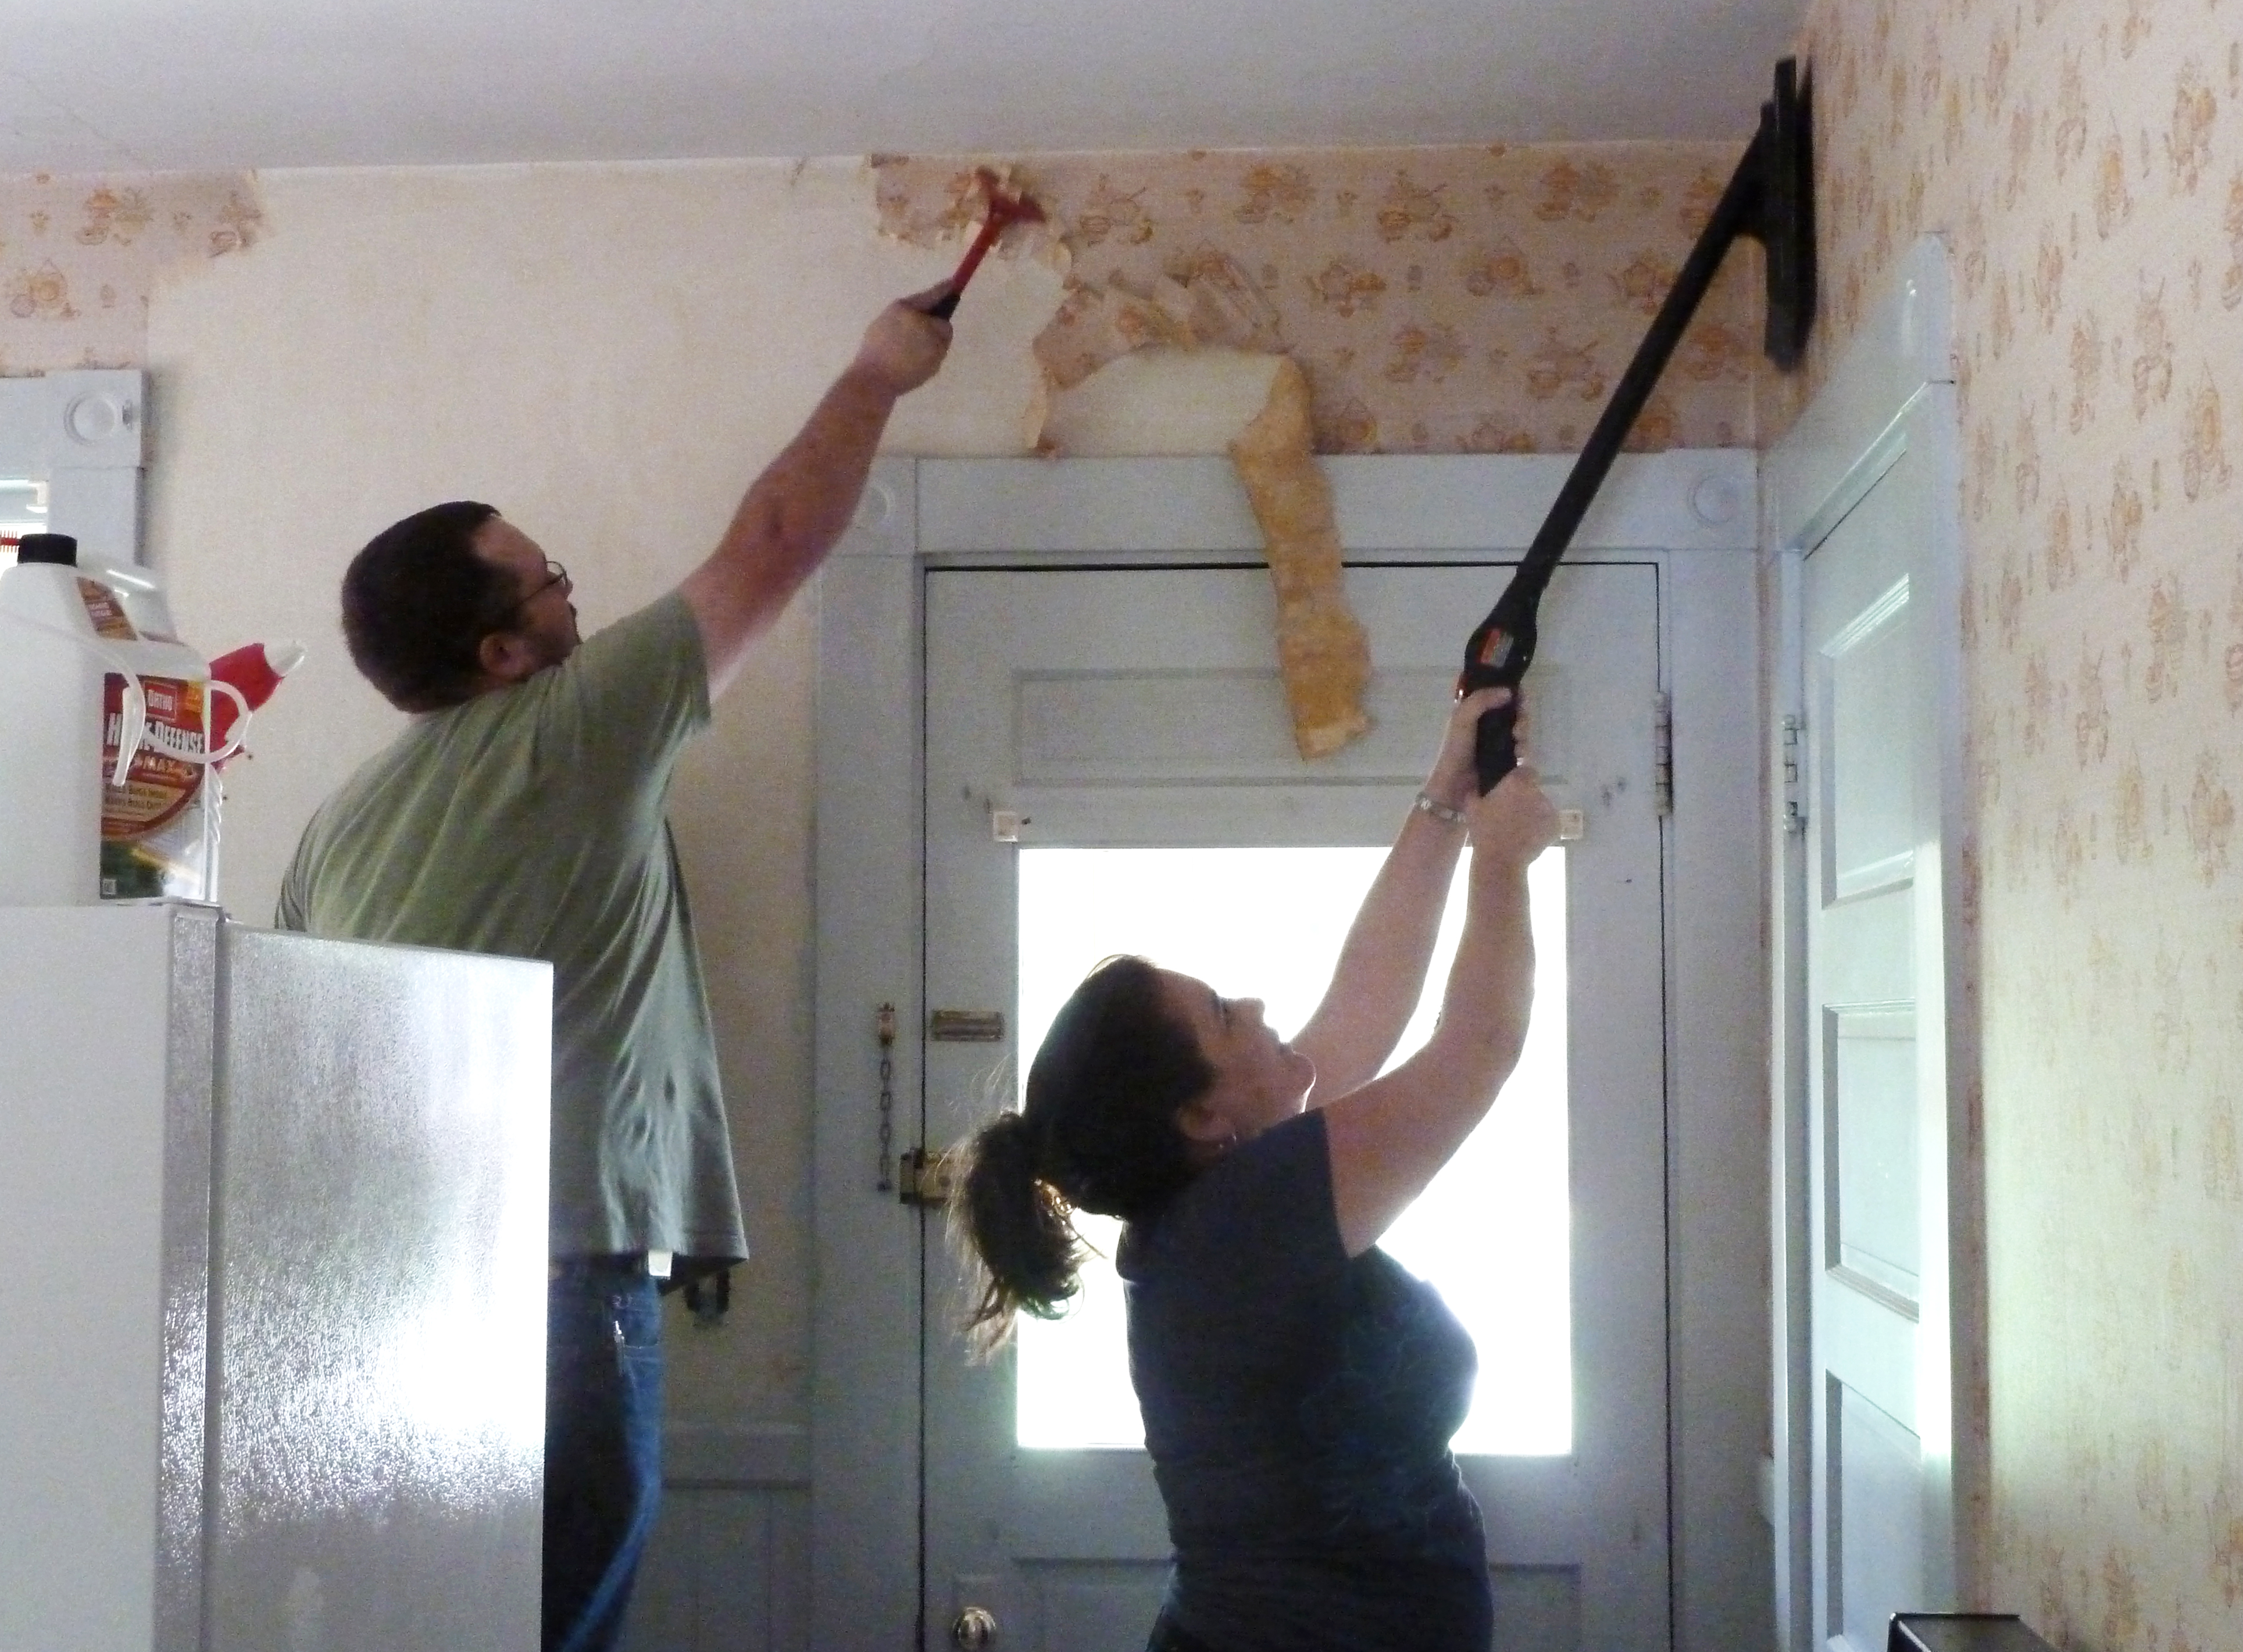
Starting with the walls
The largest surface area of the home are the walls. Normally for most homes, there is wallpaper used to decorate, other and more modern mass production styles are to have walls with plaster and thick paint. Normally the latter is of a single tone and usually a neutral color. If you want to revamp this style and jazz up the walls a bit, you have first to get rid of the current surface material you have now. For a reliable way of getting wallpaper off without damaging the underlying material or substance, as well as the structural integrity of the wall itself, look at buying a steam wallpaper stripper. Using heat and water, this product will slowly but surely inject friction between the layers of the wallpaper and lift it up and off. The welcome side effect of this tool is that the glue that holds the wallpaper on will be liquefied in the process, making clean up straight after, much easier.
Credit Richard King
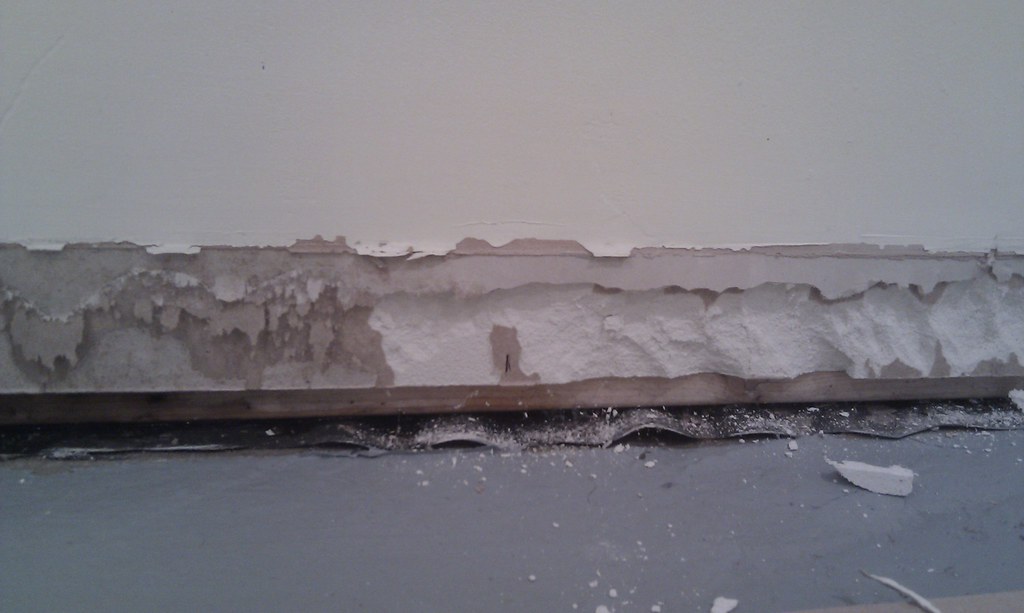
The side boards
The skirting boards and ceiling boards that encompass all the rooms can become damaged over the years. The skirting boards are a normally heavy duty, but even they can become chipped and have chunks of wood missing. Lay down a thick sheet on the ground and protect the floor from getting scratches on it. The first goal is to take out the nails that are pinning the boards to the walls. You may need to chip around the head of the nail as it’s buried in the wood, before you can pull it out, hence the need to catch the wood chips in the sheet. Using a screwdriver or crowbar, you can then slowly edge the board away from the wall before completely taking it off. Put in new skirting boards which are relatively cheap. You can buy them from any hardware store. Painting over them or just simply giving them a three layer varnish is a matter of choice.
For the ceiling covings, it’s a little trickier. The boards are much lighter and can actually be made out of foam. They are held to the ceiling with a strong glue that is different from wallpaper glue and much more heavy duty. It’s hard not to damage or affect the walls and the ceilings when you’re trying to pry the boards off. By using the same steam wallpaper remover, you can melt the glue underneath the foam boards and pry them off slowly. It will take much longer than wallpaper, but the end result will be a clean break. If your ceiling coving are made of wood, however, like the skirting boards, expose the nail first and then pull each one out. The ceiling coving will become loose and easier to take off.
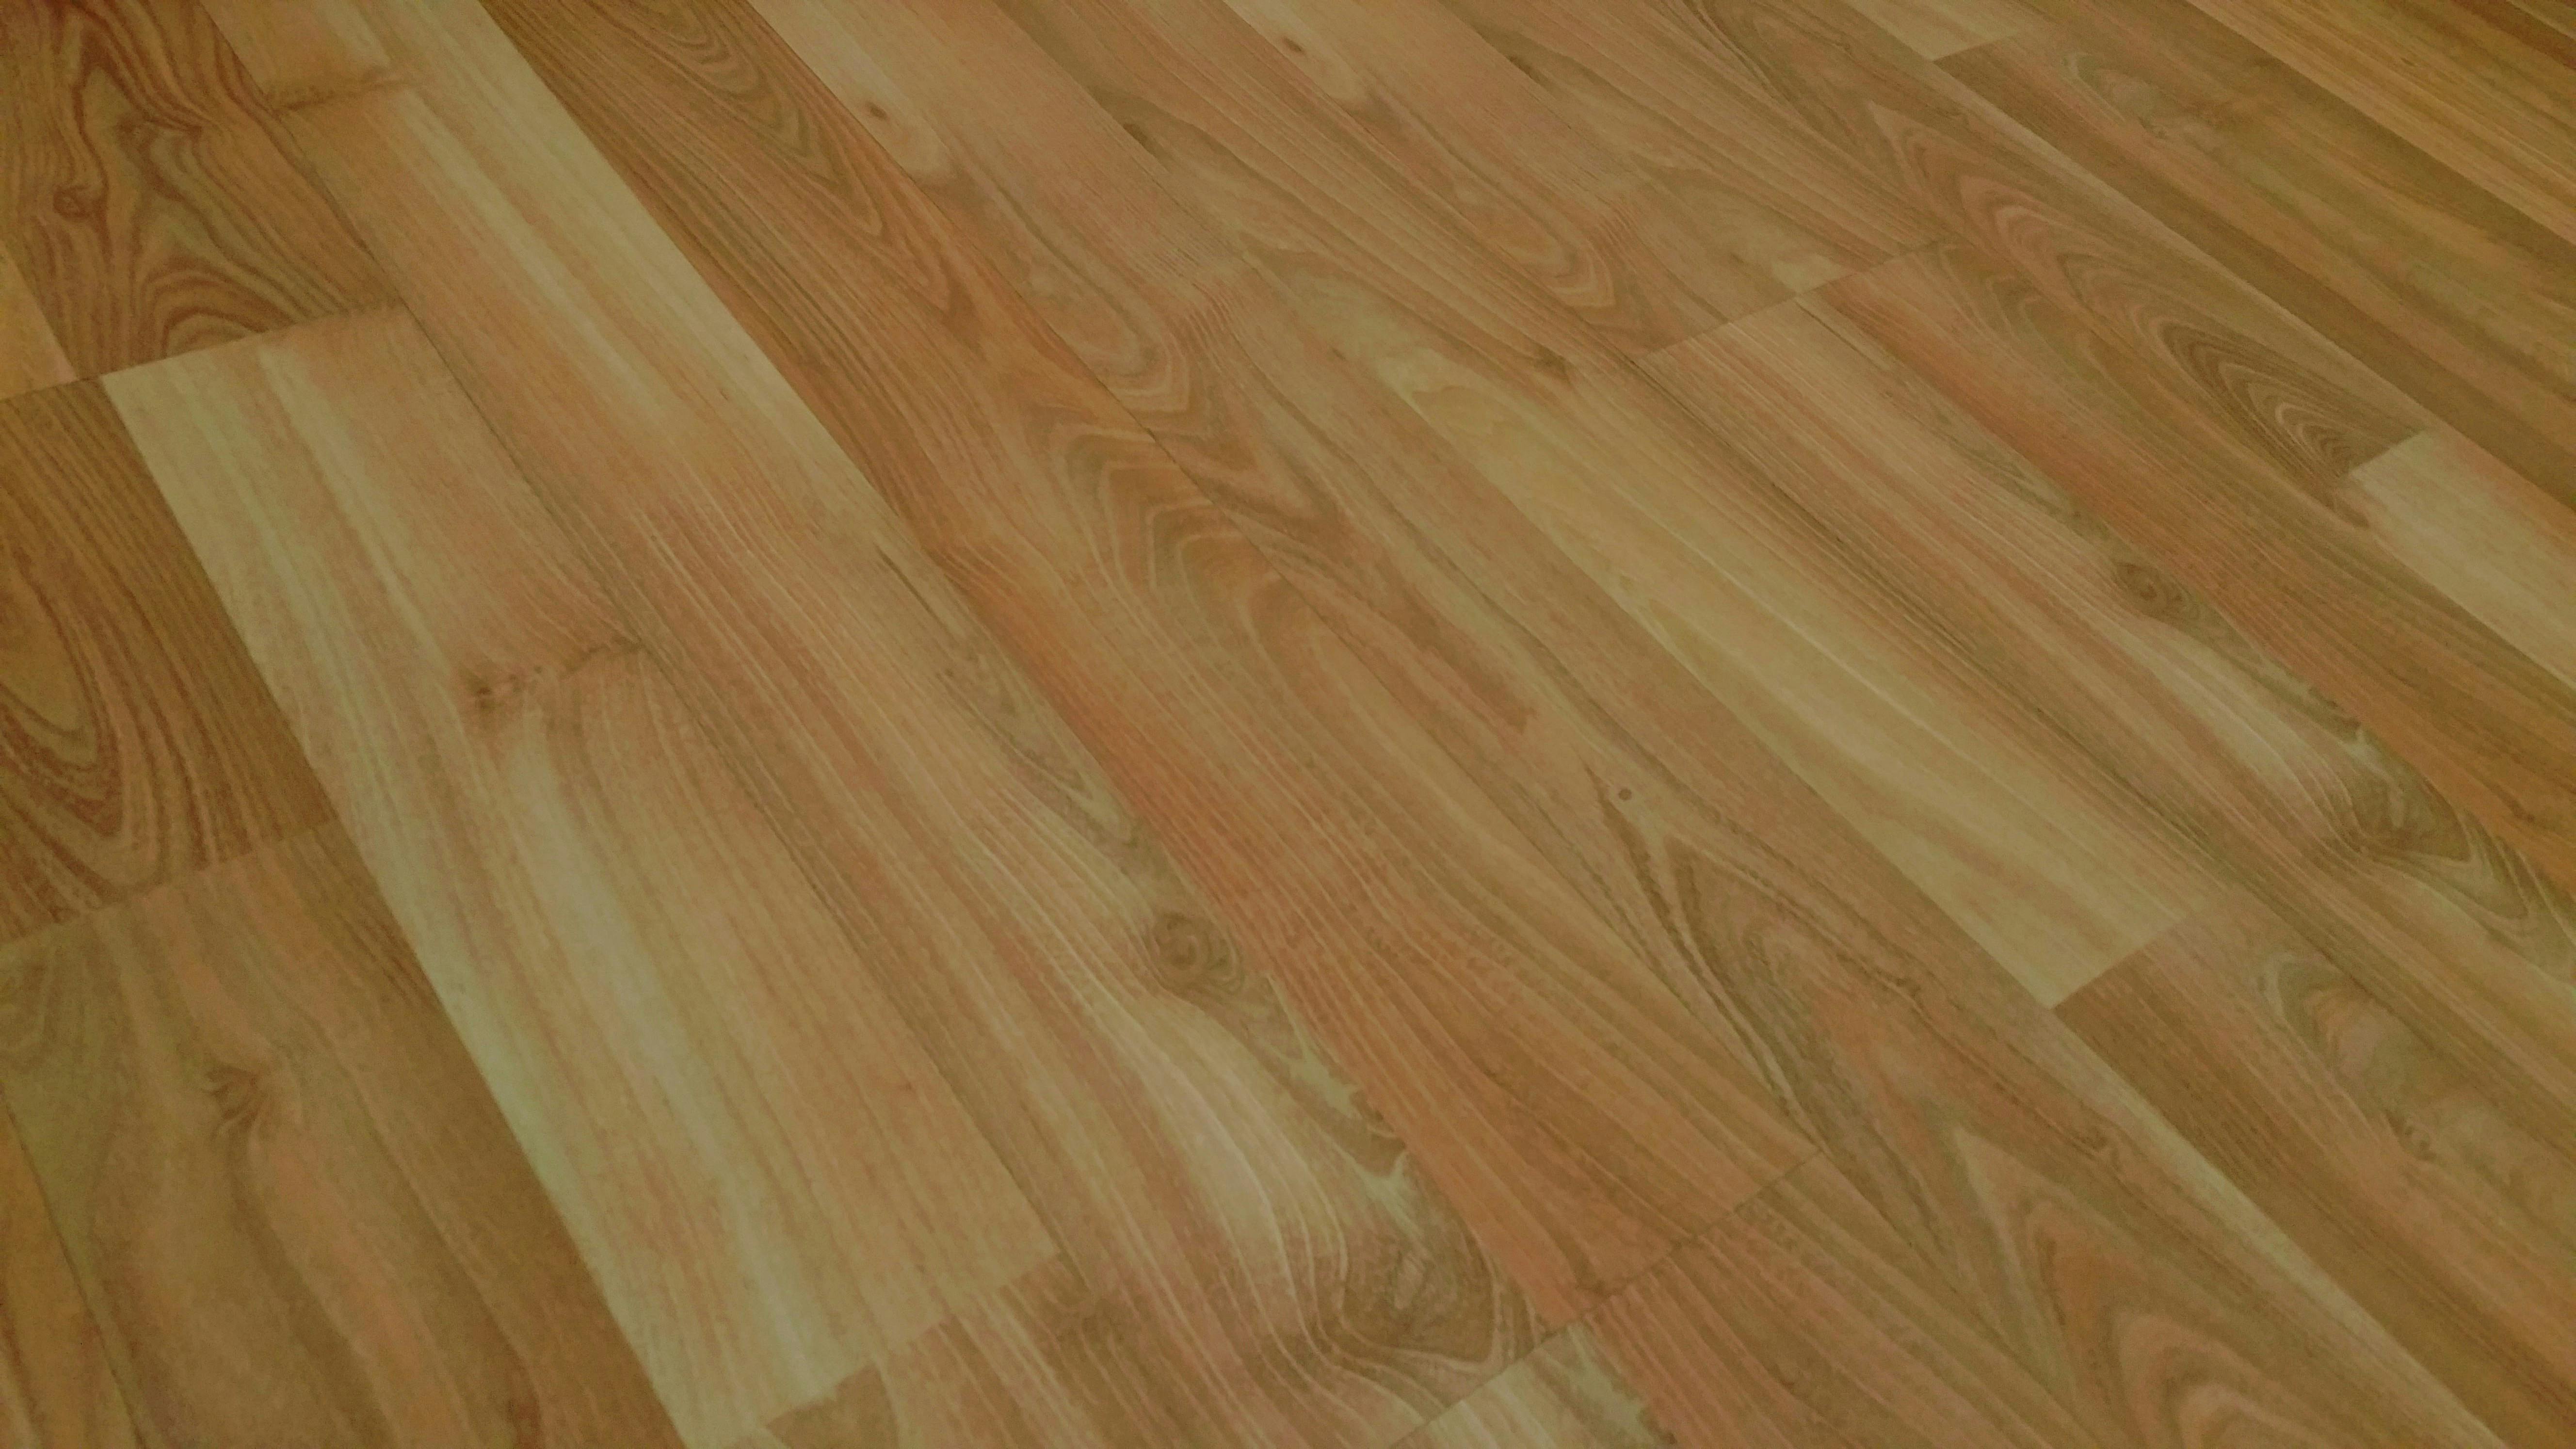
Photo by Digital Buggu
Good as new flooring
Many modern homes now have wooden tiles as flooring. Normally the color is beige because it hides scuffs and chips with the most flattery. However, to revamp the floor, you should first start with a hot watery clean. Mopping the surface with a hot liquid and surface floor cleaner is the first step to removing the top layer of dirt and stains. Upon doing so, you can lay down a thin layer of polish which will make the floor sheen in the light. The alternative is to layer with a thin and weaker varnish. Using a fine bristle paint brush, paint the floor with the varnish moving from one side of the room to the other. Allow the flooring to soak it in, leaving the floor to dry and rest overnight. This should be done during the morning, so the floor has a lot of time to dry and absorb the varnish.
Revamping the home isn’t as large a task as you might think. It’s not to be confused with refurbishing, restyling or restoration; it’s purely dealing with skin deep issue of the home. The walls are the first thing we notice when we walk in the home, so revamping the wallpaper and paint is the first task you should consider. The skirting and ceiling coving are that which surrounds the room and can be overlooked and neglected for the most part. Replacing them with new and fresh looks can complete a room subtlety. A good clean and a great polish would bring the flooring up to you with new life.